
How (and why) to add captions to your YouTube videos

Nov 06, 2023 [[read-time]] minute read

Nov 06, 2023 [[read-time]] minute read
The more accessible your content is, the more people that can enjoy it!
Whether your viewers speak another language, are deaf or hard-of-hearing, or they just want to watch videos without their sound on, subtitles and captions are key to growing your audience. The more accessible your content is, the more people that can enjoy it.
To get started adding captions, first sign into YouTube Creator Studio and upload a new video. After inputting the video details, you’ll be given the option to add new elements, including subtitles. Click “add subtitles” and you’ll see a list of options including upload file, auto sync and type manually. You can also utilize YouTube’s auto generated captions and edit them directly in YouTube Studio after the video has been processed.
Not sure which option to pick? Here’s a breakdown.

Caption files are a great option for those with professional help or familiarity with formatting closed captions. Using specific file types and structure often used in film and tv, professional caption files include a transcription of what’s said in the video, timestamps for each line and helpful positioning and styling information. Here’s a list of supported file types and formatting examples.
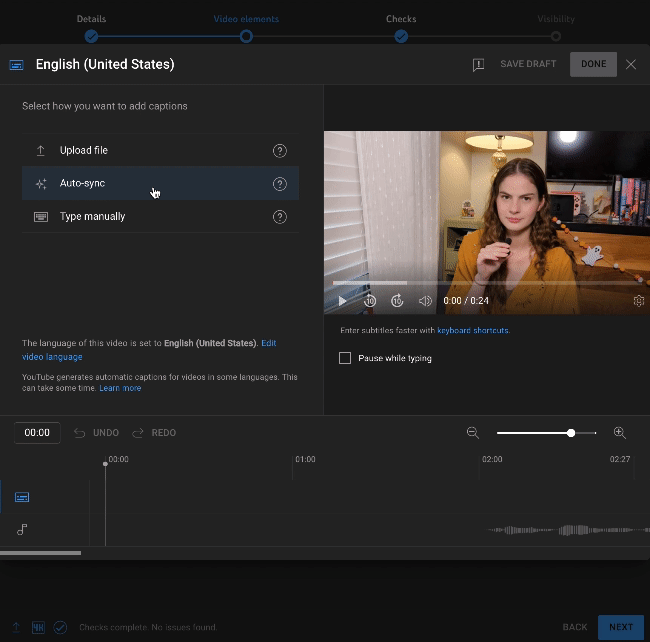
If you script your videos before filming, you actually already have a headstart when it comes to captioning! If you select Auto Sync, you’ll be taken to a tool where you can input the words said in your video and have them automatically synchronized by our voice recognition technology. Just be sure to note who’s speaking and add descriptions of any unspoken audio like [applause], so your sound effects don’t go to waste. Select “Assign Timings” after inputting your transcript and once it’s set, watch through to make sure everything is in order.

If you tend to improvise, no worries. You can watch back through your video and manually type as you go. When it comes to accessibility, putting in the extra work is worth it and the caption tool in YouTube Studio has several options to make this process easier. Consider taking advantage of keyboard shortcuts and the “pause while typing” option.
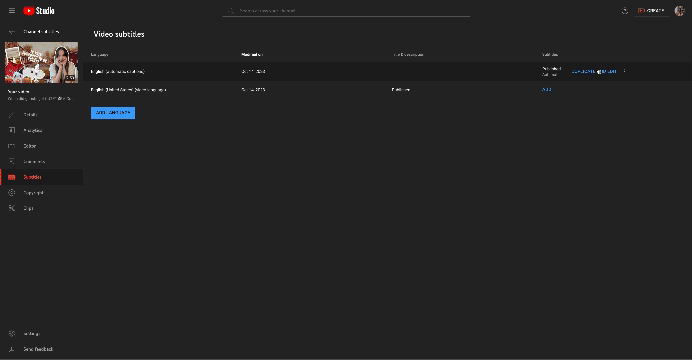
YouTube first launched automatic captions back in 2009 and we’re constantly working to improve our speech recognition technology. For example, we now use automatic speech recognition to automatically add captions to videos in 14 commonly spoken languages! While easy to add, automatic captions might contain mistakes and we encourage creators who are able to add professional captions first. If you use automatic captions, it’s important to review and edit them for accuracy. You can make changes to captions in YouTube Studio by selecting “Duplicate & Edit” next to the generated subtitles and editing the text or timestamp.
Every time you add captions, you make your content accessible to a larger audience. Within that audience could be your next collaborator, biggest fan or newest subscriber, but you’ll never know if they can’t understand you. So now that you understand how to add captions, why not get started?